26pin GPIO port test
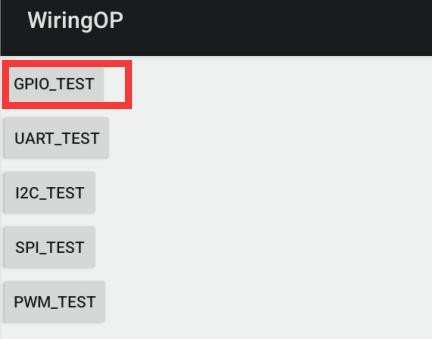
1) First click the WiringOP icon to open the WiringOP App

2) The main interface of the WiringOP App is displayed as shown in the figure below, and then click the GPIO_TEST button to open the GPIO test interface
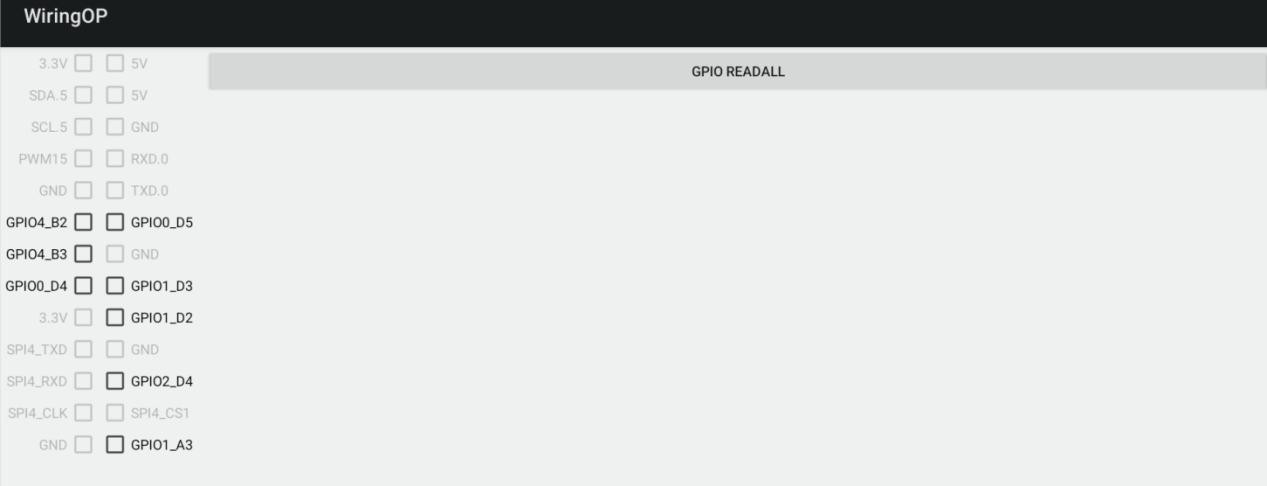
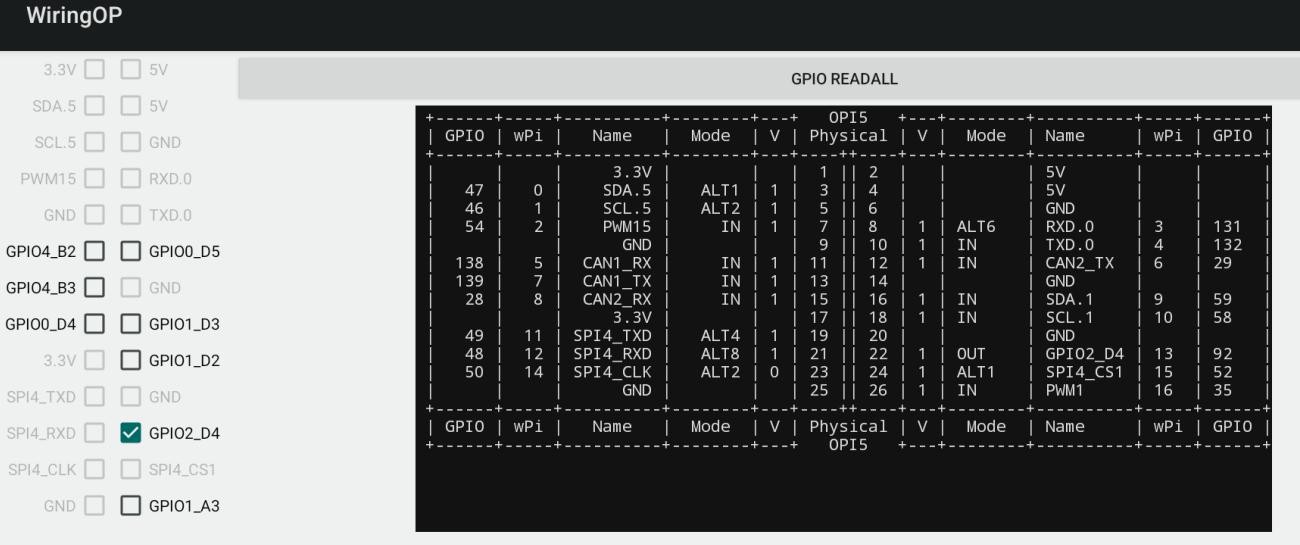
3) The GPIO test interface is shown in the figure below. The two rows of the CheckBox button on the left and the 26PIN pin are one -to -one relationship. When checking the CheckBox button, the corresponding pin will be set to OUT mode, the pin level settings will be set. For high levels, when the check -up is canceled, the pin level is set to a low level; when clicking the GPIO READALL button on the right, you can get the WPI, GPIO mode, pin level information, etc.
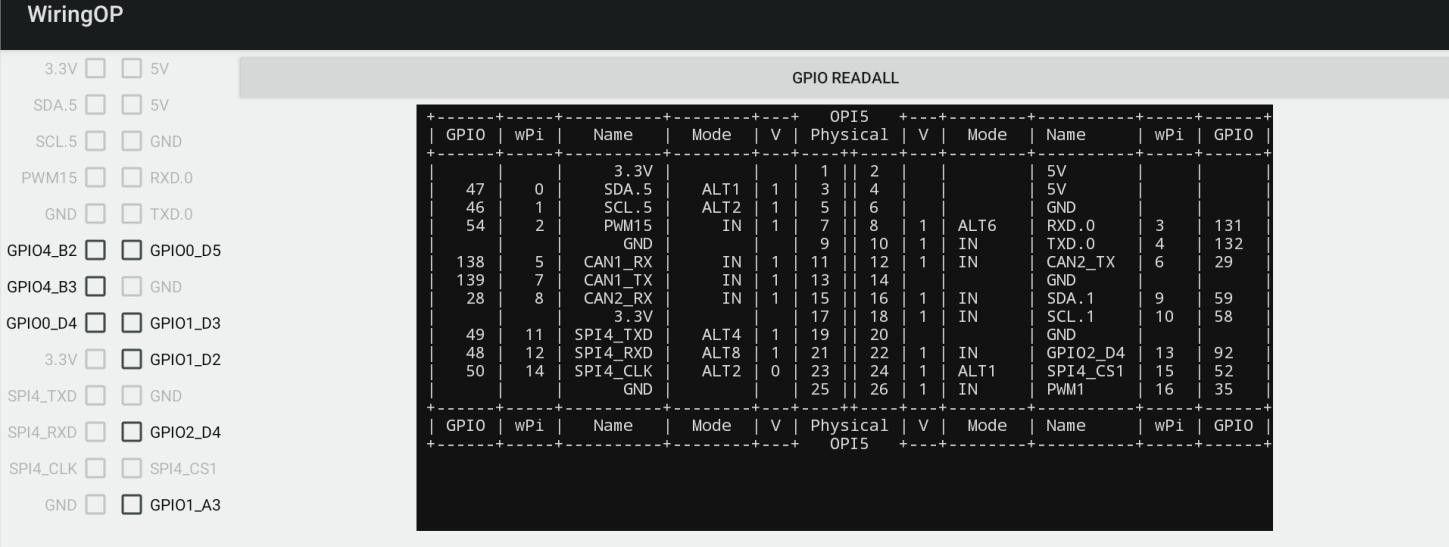
4) Then click the GPIO READALL button, and the output information is shown in the figure below
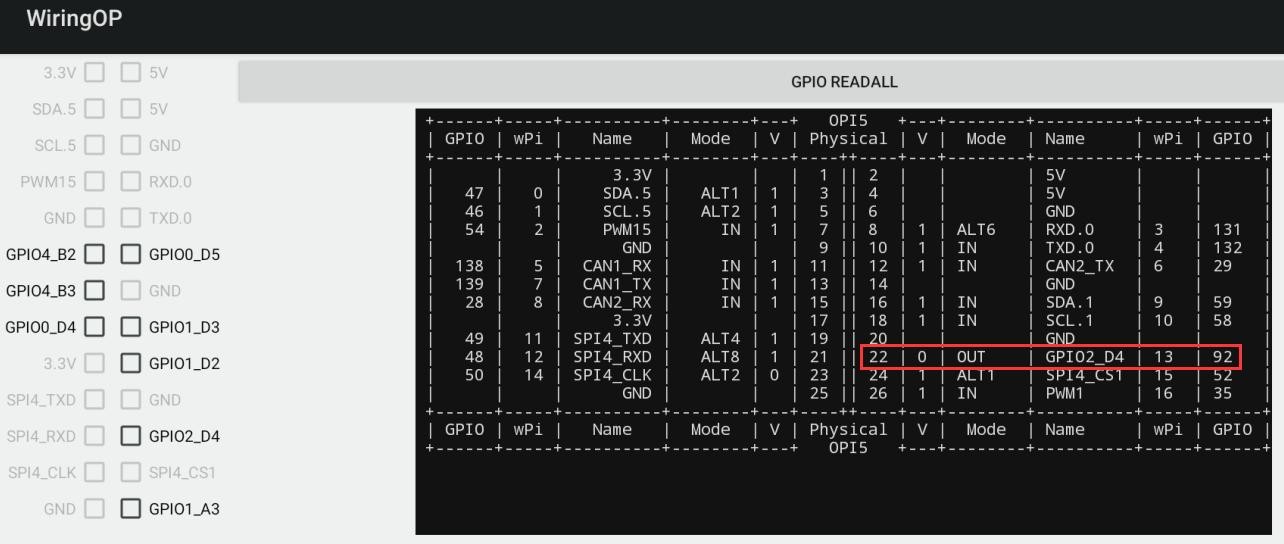
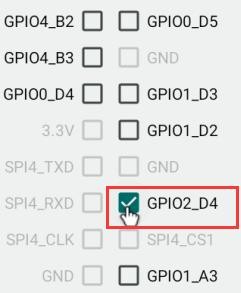
5) Taking the high and low level of the GPIO2_D4 as an example, click the CheckBox button in the figure below. When the button is selected, the GPIO2_D4 is set to a high level. After setting, you can use the value of the voltage of the pins by the multimeter. If it is 3.3v, Explain that setting high -electricity is successful
6) Then click the GPIO READALL button to see that the pins mode of the current GPIO2_D4 is OUT, and the pin level is high level
7) Click the CheckBox button in the figure below to cancel the check status. The GPIO2_D4 pin is set to a low level. After setting, you can use the value of the voltage of the multimeter to measure the pins.If it is 0v, the low -power flat is set.
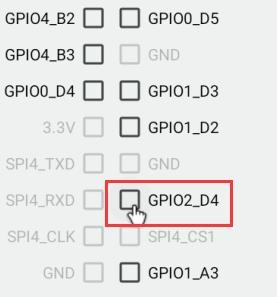
8) Then click the GPIO READALL button to see that the pins mode of the current GPIO2_D4 is OUT, and the pin level is low
